Introduction
Have you ever held your breath while clicking the “Update” button for a plugin, theme, or even WordPress core, hoping it doesn’t break your live website? This common anxiety highlights a major risk in website management: making changes directly on a live site. A single compatibility issue or bug can lead to downtime, a poor user experience, and frantic troubleshooting. Fortunately, there’s a professional and stress-free solution: using a WordPress staging site.
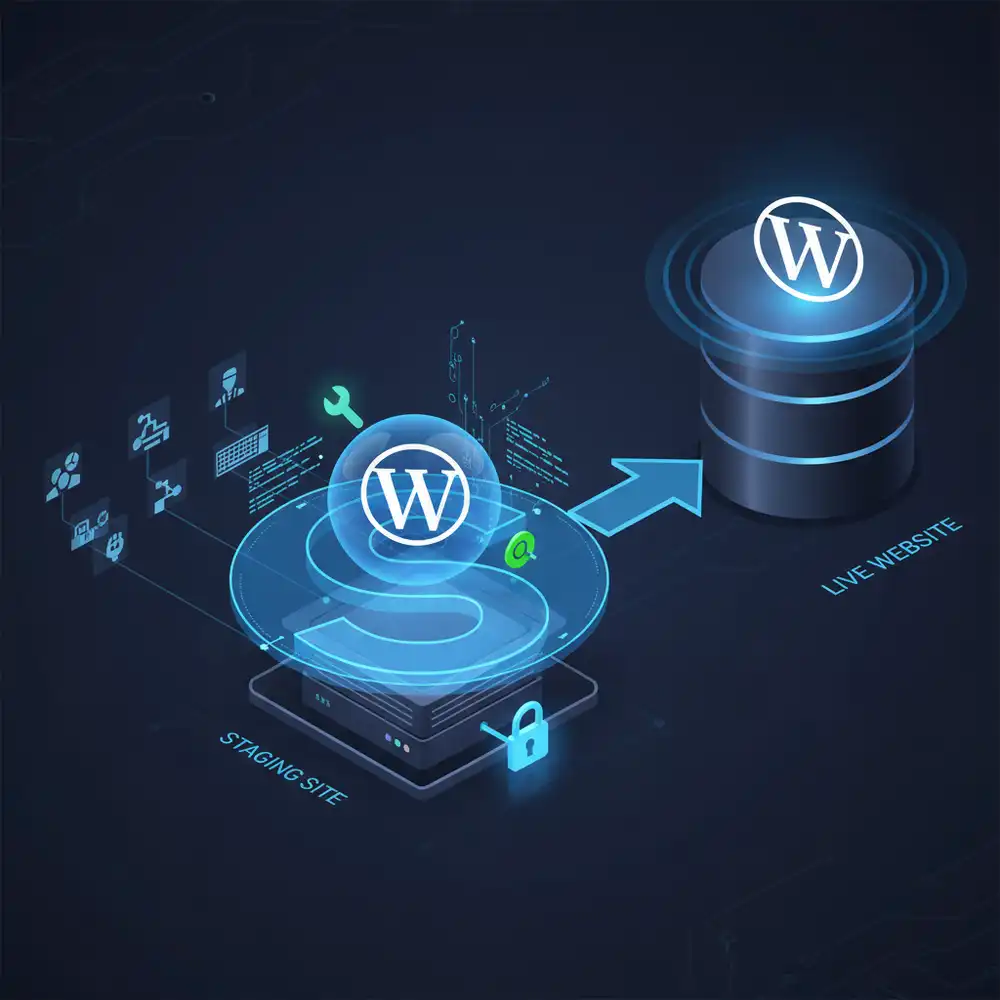
A staging site is an exact clone of your live website, but it exists in a private, separate environment. It’s your personal sandbox where you can safely test updates, experiment with new features, or make significant changes without any risk to your public-facing site. Once you’re confident that everything works perfectly, you can then “push” those changes to your live site.
This guide will walk you through everything you need to know about WordPress staging sites. We’ll cover why they are essential for safe website management, how to create one, and the best practices for using it effectively. By integrating staging sites into your workflow, you can eliminate the fear of updates and ensure a stable, professional online presence.
What is a WordPress Staging Site?
A WordPress staging site is a private, non-public copy of your live website. It runs on the same server or a similar environment, ensuring that what you test on staging will behave the same way on your live site. It’s a bridge between your local development environment (if you have one) and your live production site.
- Staging vs. Development vs. Production:
- Development: A local environment on your computer where you might write code or make initial designs.
- Staging: A private, online environment that mirrors your live site for testing and final review.
- Production (Live): Your public-facing website that your visitors see.
Why You Need a Staging Site
Using a staging site is a professional best practice that offers numerous benefits:
- Safe Updates: Test WordPress core, theme, and plugin updates in a safe environment to check for compatibility issues or bugs before applying them to your live site. This is a crucial step in maintaining a secure website, as discussed in our guide on WordPress Security Best Practices.
- Error-Free Development: Make design changes, add custom code, or install new plugins without the risk of breaking your live site. You can perfect your changes on the staging site first.
- No Downtime: Since you’re not making changes directly on your live site, you avoid accidental downtime that can harm your SEO and user trust.
- Improved Collaboration: Staging sites allow you to share a private link with clients or team members to get feedback on changes before they go live.
- Peace of Mind: Eliminate the stress and anxiety associated with making changes to a live website. You can experiment and test with confidence.
How to Create a WordPress Staging Site
There are three primary methods for creating a WordPress staging site:
1. Through Your Hosting Provider (Recommended)
This is the easiest and most recommended method. Many managed WordPress hosting providers offer one-click staging site creation.
- One-click staging: Hosts like SiteGround, Kinsta, and WP Engine have built-in staging features in their control panels. With a single click, they create a complete copy of your site.
- Push-to-live functionality: After you’ve tested your changes on the staging site, these hosts often provide a one-click option to push the changes to your live site. Some even offer selective push, allowing you to choose whether to push files, the database, or both.
- Why it’s the best option: It’s fast, easy, and reliable. The host manages the entire process, ensuring a smooth and error-free experience.
2. Using a WordPress Staging Plugin
If your host doesn’t offer a built-in staging feature, you can use a WordPress plugin.
- How they work: These plugins create a clone of your site in a subdirectory or on a subdomain of your main site. They handle the file and database copying process for you.
- Plugin recommendations:
- WP Staging: A popular plugin that creates a clone of your site in a subfolder. The free version is great for testing, while the pro version allows you to push changes back to your live site.
- Duplicator: While primarily a migration plugin, Duplicator can be used to create a copy of your site that you can then set up in a staging environment (e.g., a subdomain).
- All-in-One WP Migration: Similar to Duplicator, this plugin can export your entire site, which you can then import into a separate WordPress installation for staging.
- Pros: Makes staging possible on hosts that don’t offer it natively.
- Cons: Can be more resource-intensive on your server, and the push-to-live process might be more complex or require a premium plugin.
3. Manual Staging Site Creation (Advanced)
This method is for advanced users who are comfortable working with files and databases directly.
- Step-by-step process:
- Create a subdomain: Set up a subdomain for your staging site (e.g.,
staging.yourwebsite.com). - Copy your files: Manually copy all your WordPress files from your live site’s directory to the new staging subdomain directory.
- Copy your database: Create a new, separate database for your staging site. Export your live database and import it into the new staging database.
- Update
wp-config.php: In your staging site’swp-config.phpfile, update the database name, username, and password to match the new staging database. - Update site URL: In the staging database, you’ll need to update the
siteurlandhomevalues in thewp_optionstable to reflect the staging subdomain URL.
- Create a subdomain: Set up a subdomain for your staging site (e.g.,
- Pros: Full control over the process, no reliance on third-party tools.
- Cons: Time-consuming, complex, and high risk of error if not done correctly. Not recommended for beginners.
Best Practices for Using a Staging Site
To get the most out of your staging site, follow these best practices:
- Always Sync Before Making Changes: Before you start testing a new update or making changes, make sure your staging site is a recent, exact copy of your live site. This ensures you’re testing against the current version.
- Test Thoroughly: Don’t just check if an update breaks your site. Test key functionality: can users still log in? Do your forms work? Can you process a test transaction (for e-commerce)?
- Push Changes Carefully: When pushing changes from staging to live, be mindful of what you’re overwriting. For example, if you’ve had new comments or orders on your live site while you were working on staging, you don’t want to overwrite that new data. Good staging solutions will allow you to selectively push files without overwriting the live database.
- Password Protect Your Staging Site: Your staging site should not be public or indexable by search engines. Use your hosting provider’s tools or a plugin to password protect it and discourage search engine crawling.
- Delete Staging Sites When Not in Use: If you’re not actively using a staging site, consider deleting it to save server resources and reduce your site’s attack surface. You can always create a new one when you need it.
Conclusion
A WordPress staging site is an indispensable tool for any serious website owner or developer. It transforms the process of updating and managing your site from a stressful gamble into a safe, controlled, and professional workflow. By allowing you to test changes in a private, mirrored environment, staging sites prevent downtime, protect your SEO, and give you the confidence to innovate and improve your website without risk.
Whether you use a one-click solution from your hosting provider or a dedicated plugin, incorporating a staging environment into your workflow is a powerful step towards more robust and reliable website management. Make it a standard part of your process, and say goodbye to update anxiety for good. For more on advanced WordPress workflows, you can explore resources like Kinsta’s guide to Git for WordPress development.
Frequently Asked Questions (FAQs)
Q1: What is a WordPress staging site?
A WordPress staging site is a private, non-public clone of your live website. It serves as a testing ground where you can safely make changes, test updates, and fix bugs without affecting your live site that visitors see. Once you are happy with the changes, you can then push them to your live site.
Q2: Why should I use a staging site?
You should use a staging site to prevent breaking your live website. It allows you to safely test plugin, theme, and WordPress core updates for compatibility issues, develop new features without risk, and avoid downtime that can harm your user experience and SEO.
Q3: What is the easiest way to create a staging site?
The easiest way to create a staging site is through your hosting provider. Many managed WordPress hosts (like SiteGround, Kinsta, and WP Engine) offer one-click staging environments. This method is fast, reliable, and often includes a simple push-to-live feature for deploying your changes.
Q4: Will my staging site affect my live site’s SEO?
No, a properly configured staging site will not affect your live site’s SEO. Staging sites should be password protected and configured to discourage search engines from indexing them. This ensures that only you and your team can access it and that it remains invisible to Google and other search engines.
Q5: What is the difference between pushing files and pushing the database?
When you push changes from staging to live, you often have two options: pushing files or pushing the database. Pushing files updates your themes, plugins, and core WordPress files. Pushing the database updates your content, settings, and user data. It’s important to be careful not to overwrite new comments, orders, or user registrations on your live site with an older database from staging.