Introduction
When it comes to your WordPress website’s security, waiting for a problem to happen is not a strategy. A proactive approach is always better. You might think that you need to hire an expensive professional to check your site’s security, but that’s not always the case. With the right guidance, you can perform a basic but effective Do-It-Yourself (DIY) security audit to find and fix the most common vulnerabilities.
A security audit is like a health check-up for your website. It’s a systematic review of your site’s potential security weaknesses. By regularly auditing your site, you can identify and patch security holes before hackers have a chance to exploit them. This guide will empower you to take control of your own website security. We’ll provide a simple, step-by-step checklist that you can follow to audit your site, fix common issues, and gain valuable peace of mind.
Before You Begin: The Golden Rule
Before you make any changes to your website, you must perform a complete backup. A backup is a full copy of all your website’s files and its database. If you make a mistake during your audit that breaks your site, you can use the backup to restore it to its previous state. Use a trusted backup plugin like UpdraftPlus or your host’s backup feature, and make sure the backup is stored in a safe, off-site location.
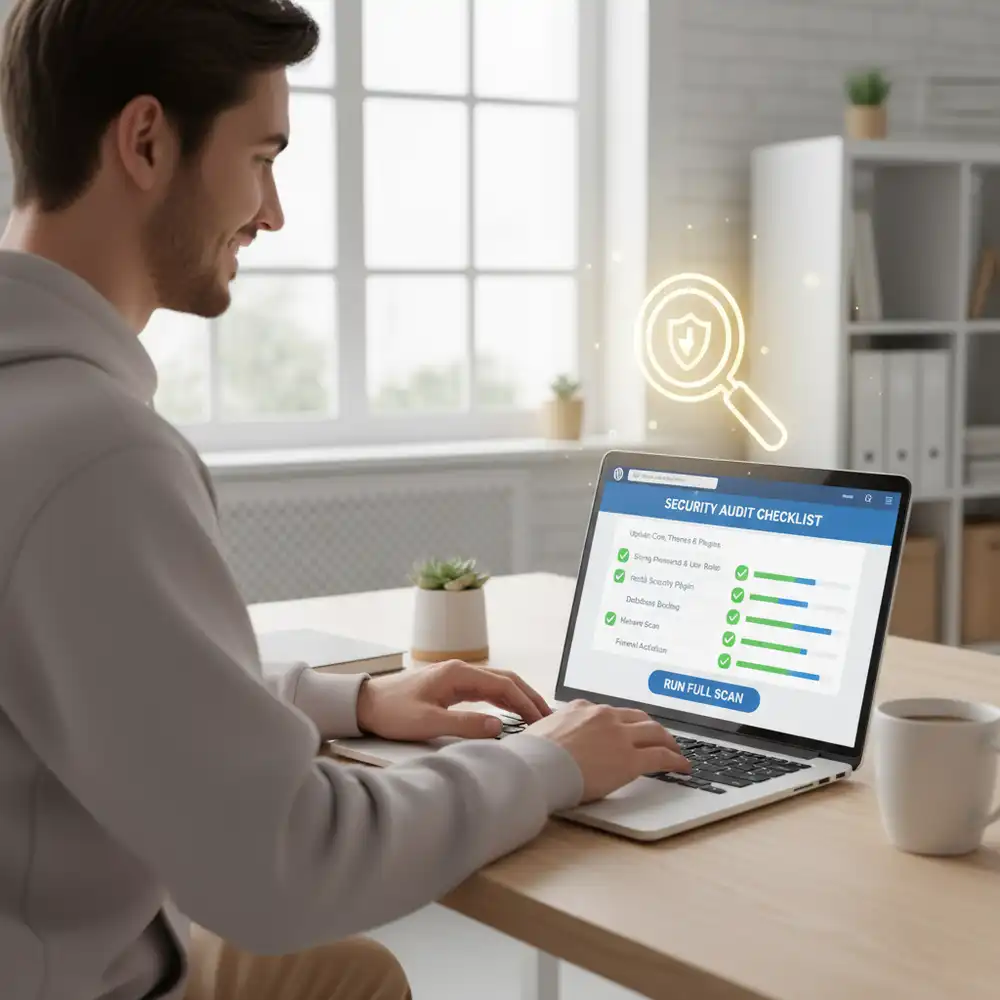
The DIY Security Audit Checklist
Follow these steps to perform your own WordPress security audit.
1. Scan Your Site for Malware
The first step is to check if your site is already infected. Malware can be hiding in your files or database without any obvious external signs.
- How to do it: Use a reliable security plugin like Wordfence or Sucuri Security to run a full-site malware scan. These plugins compare your core WordPress files with the official versions, check for known malware signatures, and look for suspicious code.
2. Check Your User Accounts and Permissions
Compromised user accounts are a common entry point for hackers. It’s important to make sure that all your user accounts are secure.
- What to look for: Go to the “Users” section in your WordPress dashboard. Look for any suspicious or unfamiliar user accounts, especially any with the “Administrator” role. Delete any users that you don’t recognize. Also, review the roles of your legitimate users. Make sure that no one has more permissions than they absolutely need. For more on this, see our Guide to WordPress User Roles.
3. Review Your Plugins and Themes
Every plugin and theme you install is a potential entry point for an attack. The more you have, the larger your “attack surface” is.
- What to do: Go through your list of installed plugins and themes. Are there any that are outdated and haven’t been updated by their developers in a long time? These are a security risk. Are there any that you are no longer using? Deactivate and delete them. Only keep well-maintained plugins and themes from reputable sources.
4. Check Your File Integrity
Hackers often modify core WordPress files to hide their malicious code. You can check if your core files have been changed.
- How to check: A good security plugin (like Wordfence or Sucuri) will do this automatically as part of its malware scan. It compares your core files against the official WordPress repository and alerts you to any changes.
5. Review Your wp-config.php File
This is one of the most important files in your WordPress installation. It contains your database credentials and security keys.
- What to check: Make sure your security keys and salts are unique (you can use the official WordPress Salt Generator to create new ones). Also, check that the file permissions are set to 600 or 644 to prevent unauthorized access.
6. Test Your Login Page Security
Your login page is the front door to your website, and it’s a prime target for brute force attacks (where hackers try to guess your password).
- How to test: Try to log in with the wrong password several times in a row. Does your site lock you out after a few failed attempts? If not, you need to enable login lockdown. A security plugin can easily add this feature.
7. Check Your Blacklist Status
If your site has been hacked, it may have been blacklisted by search engines like Google. This means visitors will see a warning before they can access your site.
- How to check: Use a tool like the Google Safe Browsing Site Status checker. Just enter your website’s URL, and it will tell you if your site is flagged as unsafe.
Fixing Common Issues and Post-Audit Hardening
If your audit uncovers any problems, don’t panic. Most common issues can be fixed with the help of a good security plugin. If you find malware, your security plugin can usually help you remove it. If you find outdated plugins, update or replace them. If your login page is weak, enable login lockdown.
After you have fixed any issues, it’s time to harden your site to prevent future problems. This includes keeping your software updated, using strong passwords, and making sure you have a reliable backup system in place, as outlined in our 10-Step Security Plan for Small Businesses.
Conclusion
Performing a regular DIY security audit is one of the most empowering things you can do to protect your WordPress website. It helps you move from a reactive to a proactive security mindset. By making this a regular habit—perhaps once a quarter—you can stay on top of potential vulnerabilities and ensure that your website remains a safe and trusted asset for your business. You don’t have to be a security expert to make a huge difference in your site’s safety.
Frequently Asked Questions (FAQs)
Q1: How often should I perform a security audit?
It’s a good practice to perform a full DIY security audit at least once every three months. You should also perform an audit after any major changes to your site, such as installing a new theme or a significant new plugin.
Q2: Can I do a security audit myself, or do I need a professional?
You can absolutely perform a basic but effective security audit yourself by following this guide. This will cover the most common vulnerabilities. However, for high-traffic or e-commerce sites, or if you suspect a serious breach, it may be wise to hire a professional for a more in-depth analysis.
Q3: What are the most common security holes in WordPress?
The most common security vulnerabilities in WordPress are outdated plugins and themes, weak passwords, a lack of a firewall, and improper user role management. These are all issues that you can address in a DIY audit.
Q4: What should I do if I find malware during my audit?
If your security plugin detects malware, it will usually provide an option to remove the malicious code. Follow the plugin’s instructions carefully. After removing the malware, you should immediately change all your passwords and run another scan to ensure the site is clean.
Q5: Are free security scanners reliable?
Yes, the free versions of reputable security plugins like Wordfence and Sucuri Security offer reliable and effective malware scanning. While their premium versions offer more advanced features, the free scanners are an excellent starting point for any DIY security audit and are sufficient for a basic DIY audit.